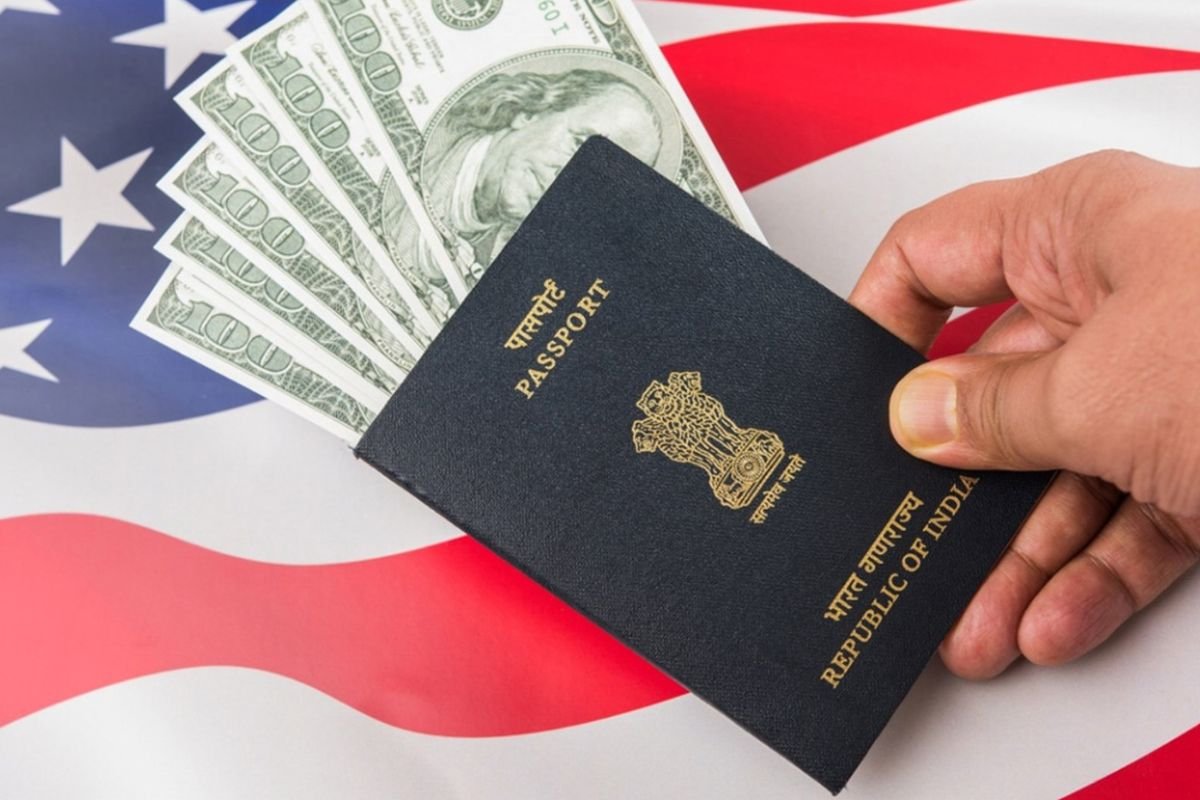
Applying for a visa to the United States can be a detailed and sometimes complex process. Whether you are visiting for tourism, business, study, or other purposes, understanding the steps involved in the visa application process can help ensure a smooth and successful experience. This comprehensive guide will walk you through the essential steps of the American Visa APPLICATION Process.
Types of US Visas
Before starting the application process, it is important to determine which type of visa you need. The most common categories include:
- Visitor Visas (B-1/B-2): For tourism, business trips, or medical treatment.
- Student Visas (F and M): For academic and vocational studies.
- Exchange Visitor Visa (J): For participation in exchange programs.
- Work Visas (H, L, O, P, Q, and R): For various types of employment.
- Immigrant Visas: For those seeking to live permanently in the US.
Step-by-Step Application Process
1. Determine Your Visa Type
Visit the US Department of State’s visa wizard to identify the appropriate visa type based on your purpose of travel.
2. Complete the DS-160 Form
The DS-160, Online Nonimmigrant Visa Application form, is required for most nonimmigrant visas. Here’s how to complete it:
- Access the Form: Go to the Consular Electronic Application Center (CEAC) website.
- Fill Out the Form: Provide accurate personal information, travel plans, and security details.
- Upload a Photo: Follow the photo requirements and upload a suitable digital photograph.
- Submit the Form: After reviewing, submit the form and print the confirmation page with the barcode.
3. Pay the Visa Application Fee
- Fee Payment: Pay the non-refundable visa application fee. The fee amount varies depending on the visa type.
- Receipt: Keep the receipt as you will need it for scheduling your visa interview.
4. Schedule a Visa Interview
- Interview Appointment: Schedule an interview at the US Embassy or Consulate in your country. Waiting times for interview appointments vary, so it’s advisable to apply early.
- Documents Needed: Gather all necessary documents for the interview, including your DS-160 confirmation page, passport, visa fee receipt, and any other required supporting documents.
5. Attend the Visa Interview
- Interview Preparation: Prepare for common interview questions related to your travel purpose, ties to your home country, and financial stability.
- Interview Day: Arrive at the embassy or consulate on time. Bring all required documents and be prepared to provide biometric information (fingerprints).
6. Additional Administrative Processing
In some cases, additional administrative processing may be required. This can add time to the visa application process. The consular officer will inform you if this is necessary.
7. Receive Your Visa
- Visa Issuance: If your visa is approved, it will be placed in your passport. Processing times for visa issuance vary.
- Passport Return: Your passport with the visa will be returned to you by courier or you can collect it from the embassy or consulate.
Tips for a Successful Application
- Start Early: Begin the visa application process well in advance of your intended travel date.
- Accurate Information: Ensure all information provided in your application is accurate and truthful.
- Organize Documents: Keep all required documents organized and ready for your interview.
- Prepare for the Interview: Practice answering questions clearly and confidently.
- Stay Informed: Regularly check the US Embassy or Consulate website in your country for updates and specific instructions.
Conclusion
Navigating the American Visa Online Requirements application process can be straightforward if you understand the steps involved and prepare adequately. By following this step-by-step guide, you can increase your chances of a successful visa application and look forward to your trip to the United States with confidence
